How
Do I Flush My Windows DNS Cache?
The
following guide will walk you through clearing your DNS Cache. Every time you
venture onto the Internet, DNS resolutions are being made and your computer
stores many of them. Caching these resolutions can speed up your web activities
because your computer no longer has to ask another computer where something is
located.
Eventually
there will come a time when a bad entry is stored. There are generally two ways
to remove these entries. First is to allow 24 hours to pass. During
this time your computer will seek out and make the necessary DNS updates.
Second is to flush your DNS cache.
The
first step to flushing your DNS, is to open your “Windows Command” prompt.
§ WinXP: Start, Run and then
type “cmd” and press Enter.
§ Window 7: Click
“Start” and type the word “Command” in the Start search field. Finally right
click the command prompt icon and select the option to “Run as Administrator”.

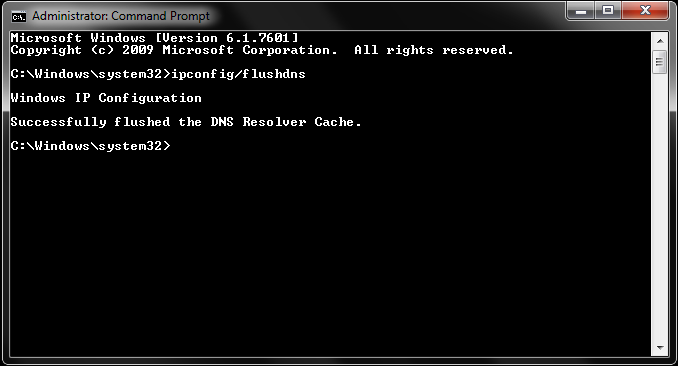
§ In the open prompt, type
“ipconfig /flushdns” (without the quotes).
§ You should receive a message
of your success as confirmation when the cache is cleared.
Flushing
the cache removes all the information stored within the cache, forcing the
computer to find new DNS information.


No comments:
Post a Comment